4 Easy Steps to the Perfect Sourdough Starter
It doesn't require purchasing yeast.

Adjusting your life to the new normal may be a bit of a challenge. With fewer trips to the grocery store, ordering from meal kit, CSA or farm boxes, and wine delivery services, may be here to stay. You may have already started growing your own with one of these gardening kits. And you’ve probably started stocking your pantry and fridge with with these 17 long lasting fruits and veg.
So it’s about time you started making your own sourdough starter from scratch. What’s great is that you don’t have to purchase any yeast. So if you have some flour on hand (or if you’re out, perhaps, you can borrow some from a neighbor or friend safely, or make your own with our article, Grind, Baby, Grind: Make Your Own Flour), give this a go. It’s easier than you think and your family is going to love the delicious oven fresh bread. If you have kids, this is a great activity for them to help you with, and assist maintaining daily.
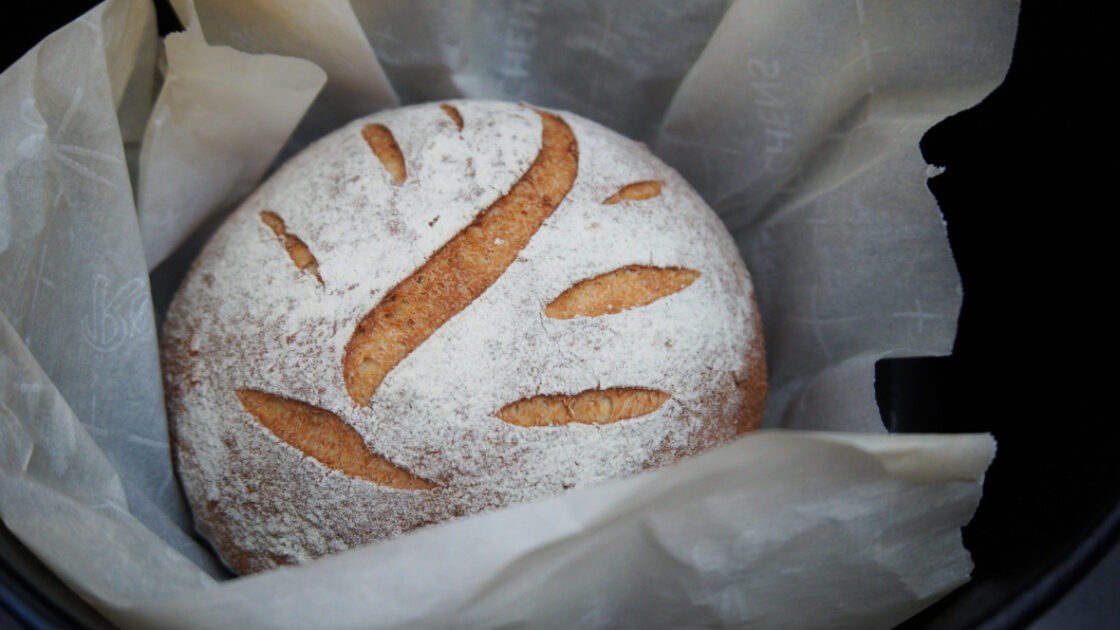
Sourdough bread is the perfect thing to have on-hand: swipe it with butter and jam for a delicious breakfast; use it as sandwich bread to surround your favorite fillings. Having sourdough dough, though, is even better. Not only can you vary the ways in which you use the bread, but you can even use the dough to create a variety of different recipes. There are studies that have shown that sourdough may be edible for people with gluten intolerance. And the best part of all… it’s easy to make at home!
1. Making Your Own Sourdough
Making your own sourdough involves collecting yeast and bacteria that are already present in the air. These bacteria and yeast are different everywhere, which is why sourdough in New York and sourdough in San Francisco taste so vastly different. How do you collect those yeast and bacteria? By setting a trap.
2. Attracting Yeast
First, pick a flour that’s full of tasty nutrients, like whole rye or whole wheat flour. Combine equal parts (by weight) of flour and water in a glass container. Let it sit, uncovered or covered with a thin layer of cheesecloth, at room temperature for 24 hours.
3. Feeding the Starter
You may have heard of this expression from experienced sourdough bakers, but don’t worry; it’s not as scary as it might sound. All you have to do is, 24 hours after having started the starter, throw out half of it.
Yes, it sounds counter-intuitive.
Then, add the same weights of water and flour you added to make your original starter back to the starter that remains. In other words, if you started with 5 ounces of water and 5 ounces of flour, once you’ve thrown out half, you can add 5 ounces each of water and flour to the starter that remains.
Continue discarding half and feeding your starter twice a day for between two and four days, until your starter is very bubbly and has a nice, fruity smell. After about a week, your starter should be ready to use.
4. Using Your Starter
Simply measure out what you need and put the rest of the starter in a jar. At this point, you can either continue feeding it twice a day or store it in the fridge, though you’ll need to remove it to room temperature and begin feeding it again twice a day until it begins bubbling and developing its aroma again before using it in a new recipe.
For more tips, consider consider reading 3 Secrets to a Sweet Sourdough. As for what to do with your starter, try some of our favorite sourdough recipes:
Read More on Organic Authority
4 Non Toxic Cookware Brands to Keep Chemicals Out of Your Food
Made In Cookware Brings Professional Quality to the Home
Xtrema Cookware Revitalizes Ancestral Cooking Techniques

