The Beginner’s Guide to Sprouting: Where to Start and How to Finish

You don’t need to have a green thumb to master growing your own sprouts. In fact, you don’t even need to get your hands dirty! Sprouting seeds is a fun way to bring a more sophisticated DIY touch to your next meal. Sprouts are incredibly dense in nutrition and make for an excellent addition to your daily diet. Here is your easy, go-to guide to sprouting in the comfort of your own kitchen.
What is Sprouting?
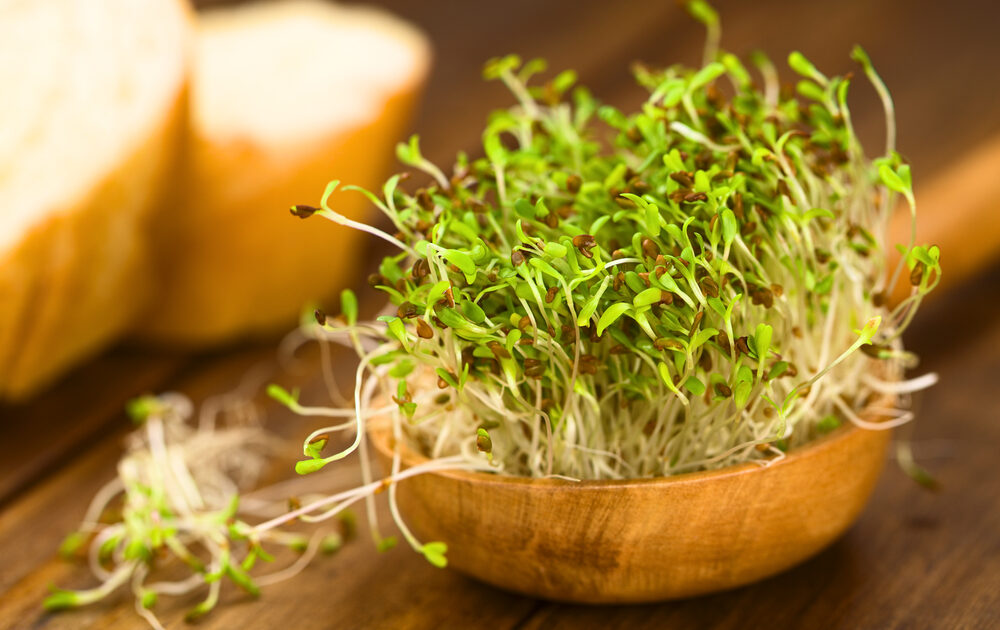
Sprouting is the process of taking a seed, nut, grain, or bean and inducing the germination process. The result is a collection of “mini plants” that you can use as a unique touch in a variety of dishes and with huge health benefits.
The germination process of sprouting increases the vital nutrient profile of the seed, such as its vitamin C as well as B vitamins. Sprouting also neutralizes the anti-nutrient phytic acid, which interferes with the body’s ability to absorb minerals such as calcium, iron, and zinc. Through the sprouting process, legumes, seeds, beans, and nuts become easier to digest. Sprouting makes seeds more alkalizing in the body and because they are soaked, the fat content also drops.
Step-By-Step Guide to Sprouting

Sprouting is a simple process, but it requires a bit of time and attention to succeed. The following guide is a simple step-by-step tutorial to sprouting. There are two main methods to sprouting: the jar method and the tray method. I am introducing the jar method, which is cheaper and more accommodating to the tools you have on hand.
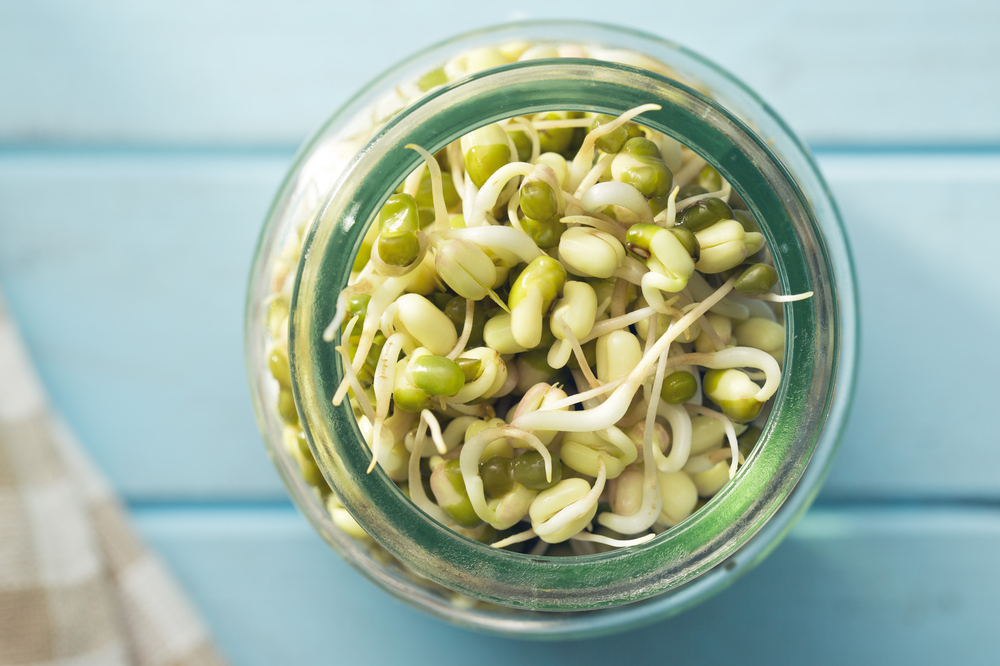
- Pick your nut, seed, legume, grain, or bean. Popular choices include adzuki beans, amaranth, barley, buckwheat, chickpeas, kamut, lentils, millet, mung beans, oat groats, pumpkin seeds, sesame seeds, radish seeds, sesame seeds, sunflower seeds, quinoa, wheat berries, and wild rice.
- Assemble a quart-sized mason jar and remove the solid middle insert of the cut. Cut a piece of cheesecloth or breathable mesh to fit inside.
- Fill 1/3 of the jar with your choice of nuts, needs, grains, or beans. Fill the remainder of the jar with warm filtered water and stir in ½ teaspoon sea salt. Screw the lid back on the jar with the cheesecloth in pace where the middle insert formerly was.
- Place the jar aside to soak for the designated soaking time. (Refer to this list to know how long to soak your nuts, beans, seeds, or legumes for!)
- Once the soaking time has finished, drain the water from the jar and rinse the inside contents well, draining and rinsing a few more times.
- Invert the jar and lay it at an angle so that air can circulate and excess water can drain. Place the jar in the light.
- Every 3-4 hours, rinse and drain the sprouts and return it to its inverted position.
- Depending on the sprout your are dealing with, you will have to continue this rinsing and draining process until the sprouts have reached between 1/8 and 2 inches long. Once they are finished sprouting to their ideal length, rinse and drain them one last time and store them in the jar with the solid insert of the cap back in play.
- Seal and store in the refrigerator until use. Generally, sprouts will stay fresh for 2-3 days after sprouting fully.
- Enjoy sprouts liberally in smoothies, soups, salads, sandwiches, and stews!

Related on Organic Authority
Sprouting 101
5 Healthy, Simple Steps to Growing Sprouts at Home
How to Grow Your Own Sprouts
Sprouted Alfafa, Sprouting Mung Beans, and Salad Images from Shutterstock

